Doll enthusiasts and collectors alike often find themselves yearning for unique, stylish outfits for their precious figurines. But sewing can be time-consuming and intimidating for many people, especially if they lack the skills or equipment. Fear not!
In this comprehensive guide, we’ll explore various no-sew techniques to create stunning, bespoke doll clothes that require zero stitching. So, grab your favorite dolls, and let’s dive into the world of no-sew doll clothing!
Gathering Your Materials and Tools
Before you start creating your no-sew doll clothes, you’ll need to gather the right materials and tools. Here’s a list of essentials for your no-sew project:
- Fabric: Choose lightweight, non-fraying materials like felt, faux leather, or jersey knit.
- Avoid heavy fabrics or those that easily fray.
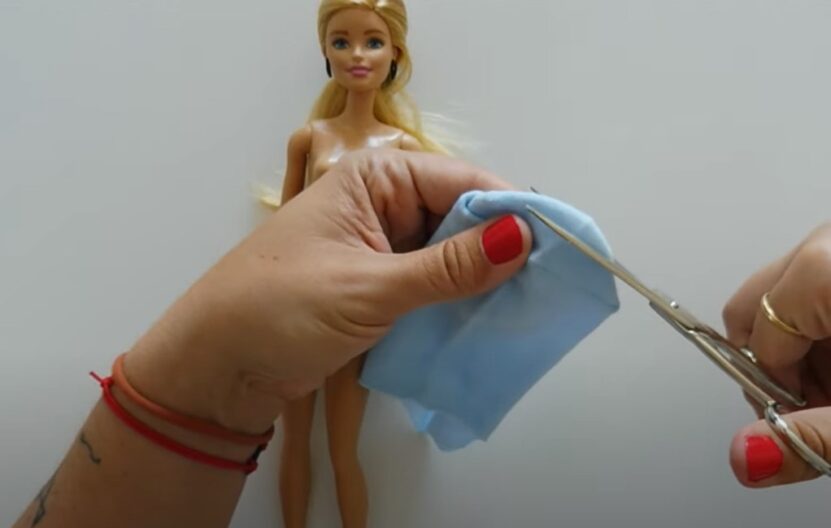
- Scissors: A sharp pair of fabric scissors is essential for clean, accurate cuts.
- Fabric glue: Look for a strong, clear-drying adhesive suitable for fabrics.
- Fabric tape: Double-sided fabric tape is perfect for creating temporary or permanent
- hems and seams.
- Iron-on hemming tape: A quick, clean alternative to sewing hems, this heat-activated
- tape secures fabric edges.
- Velcro or snaps: These fasteners provide easy closure solutions for doll clothing.
- Ruler or measuring tape: Measure your doll and fabric accurately with a flexible
- measuring tape or ruler.
- Pencil or fabric marker: Use a washable fabric marker or pencil to mark fabric for cutting.
- Iron and ironing board: Essential for applying iron-on hemming tape.
Measuring and Cutting the Fabric
Properly measuring and cutting your fabric is crucial to creating well-fitted doll clothes. Follow these steps to ensure your clothing pieces are accurate and proportional:
- Measure your doll: Use a flexible measuring tape to measure your doll’s chest, waist, hips, and length (from shoulder to desired hem). Record these measurements.
- Create a template: Draw a simple pattern on paper using the measurements, adding an extra ¼-inch for seams and hems. Cut out the template.
- Trace the template: Place the template onto your chosen fabric, trace it with a fabric marker or pencil, and then cut out the fabric pieces.
No-Sew Techniques
Once you’ve cut your fabric, it’s time to assemble your doll clothes using various no-sew techniques:
Gluing
Fabric glue is an excellent option for creating seams and attaching embellishments. Apply a thin layer of glue to the fabric edges, press them together, and let dry according to the manufacturer’s instructions. Remember that fabric glue may not be suitable for delicate or washable fabrics.
Fabric Tape
Double-sided fabric tape is a quick and easy way to create temporary or permanent seams. Simply place the tape between the fabric layers and press firmly to secure. This method works best for lightweight fabrics that don’t require frequent adjustments.
Iron-On Hemming
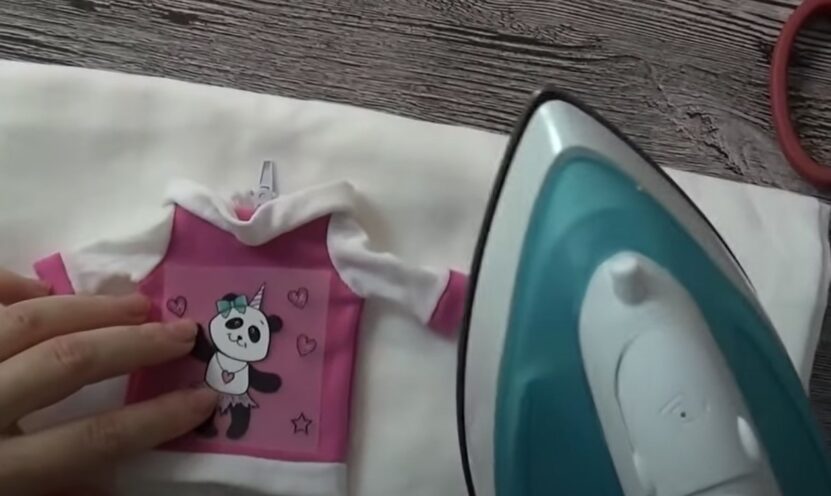
Iron-on hemming tape is a clean, efficient alternative to sewing hems. To use, place the tape between the fabric layers where you want the hem, and then apply heat with an iron according to the manufacturer’s instructions. This method works well for most fabrics and provides a polished, professional finish.
Velcro and Snaps
For easy closures on your doll clothes, consider using Velcro or snaps. Attach Velcro strips or sew-on snaps using fabric glue or iron-on adhesive, ensuring they are aligned correctly for a secure fit.
Creating No-Sew Doll Clothes
Now that you’re familiar with the no-sew techniques let’s explore how to create various doll clothing items without sewing:
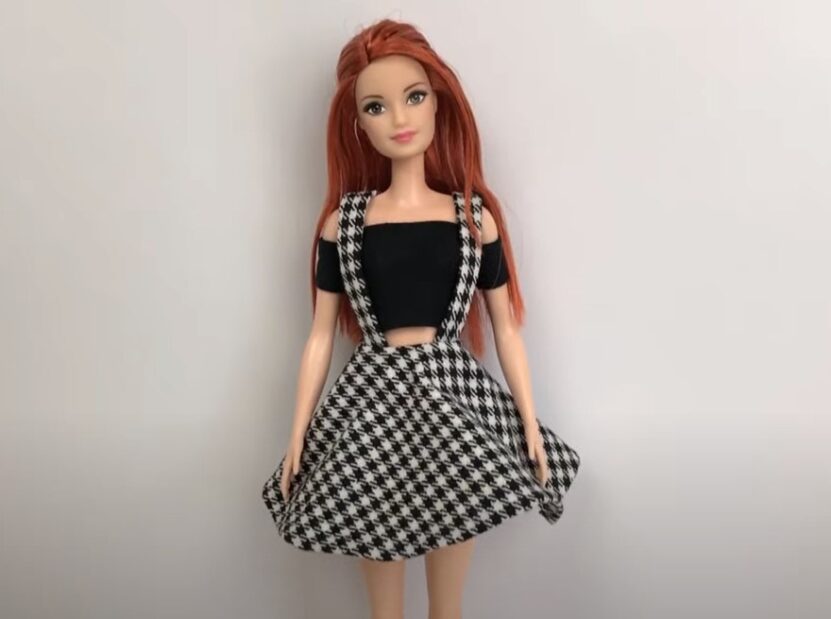
Dresses
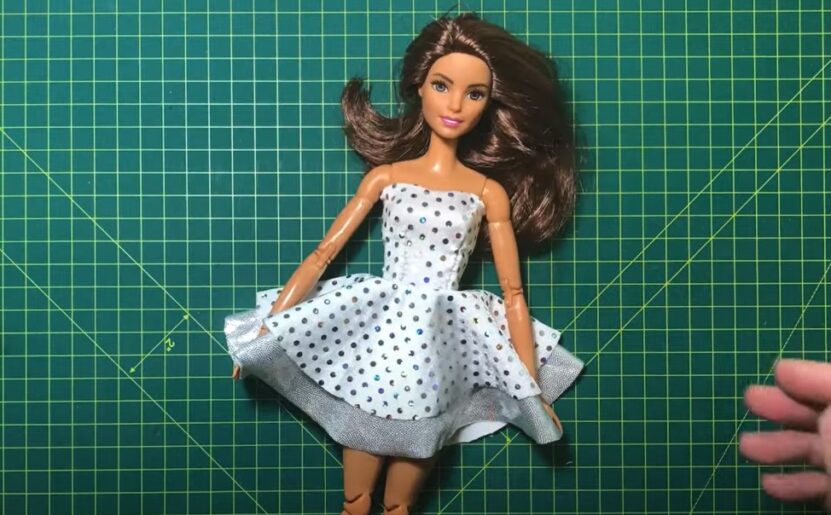
To make a simple no-sew dress:
- Measure and cut a rectangular piece of fabric using your doll’s chest and length measurements.
- Fold the top edge of the fabric down about ¼-inch and secure it with iron-on hemming tape to create a neat edge.
- Wrap the fabric around your doll’s chest, overlapping the ends slightly. Secure with fabric glue or fabric tape.
- Add Velcro or snaps to the back of the dress for easy closure.
Skirts
Creating a no-sew skirt is similar to making a dress:
- Measure and cut a rectangular piece of fabric using your doll’s waist and length measurements.
- Fold the top edge down about ¼-inch and secure with iron-on hemming tape to create a waistband.
- Wrap the fabric around your doll’s waist, overlapping the ends slightly. Secure with fabric glue or fabric tape.
- Add Velcro or snaps to the back of the skirt for easy closure.
Pants
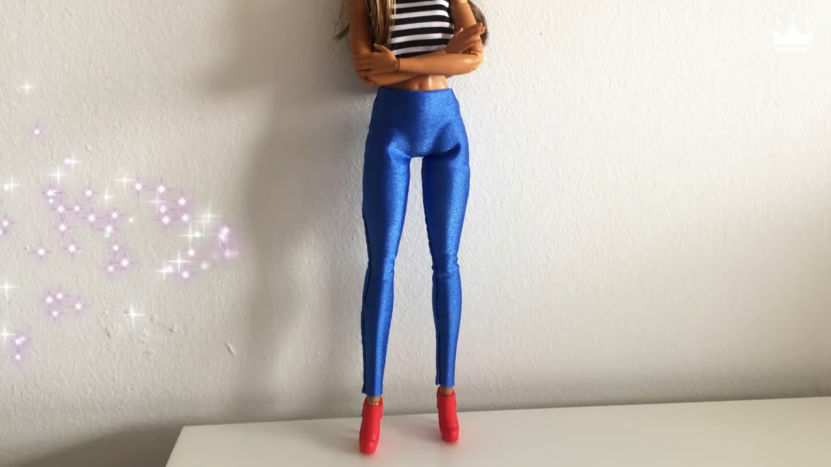
To make no-sew pants:
- Measure and cut two identical rectangular pieces of fabric using your doll’s waist, hip, and leg length measurements.
- Fold each piece in half lengthwise, with the right sides facing in. Use fabric glue or tape to secure the long edges, forming pant legs.
- Turn the pant legs right side out and align them at the top edges. Use fabric glue or tape to join the top edges, creating a waistband.
- Add Velcro or snaps to the back of the pants for easy closure.
Shirts and Blouses
For a simple no-sew shirt or blouse:
- Measure and cut two rectangular pieces of fabric using your doll’s chest and shirt length measurements.
- Place the two fabric pieces on top of each other, with the right sides facing in. Use fabric glue or tape to join the side and shoulder edges, leaving openings for the head and arms.
- Turn the shirt right side out and fold the neckline, armholes, and hem under, securing with iron-on hemming tape for a clean finish.
- Add Velcro or snaps to the back of the shirt for easy closure.
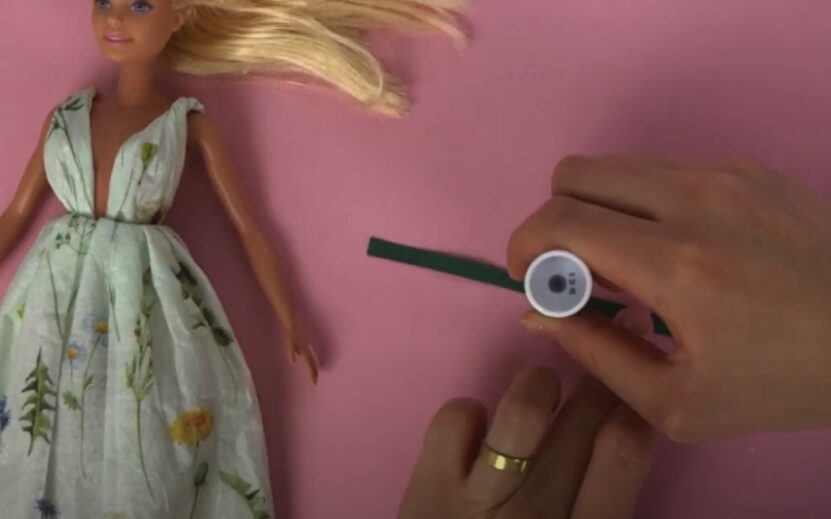
Accessories
Complete your doll’s outfit with no-sew accessories:
- Belts: Cut a strip of fabric or ribbon and wrap it around your doll’s waist. Secure the ends with a bow or Velcro.
- Scarves: Cut a long, narrow strip of fabric and drape it around your doll’s neck or shoulders.
- Hats: Create a simple hat by cutting a circle of fabric, gathering the edges, and securing it with fabric glue or tape.
Tips and Tricks for a Polished Finish
To achieve a professional, polished look for your no-sew doll clothes:
- Press your fabric before cutting to remove any wrinkles or creases.
- Trim any loose threads or frayed edges for a clean appearance.
- Add embellishments like ribbon, lace, or beads to personalize your creations.
- If you’re unsure about a design, practice on scrap fabric before committing to your final piece.
- Take your time with each step, ensuring accurate measurements and precise cuts for the best results.
Final Words
Creating no-sew doll clothes is an enjoyable, accessible activity for people of all ages and skill levels. With the right materials and techniques, you can design and assemble unique, stylish outfits for your beloved dolls without ever picking up a needle and thread. By following this comprehensive guide and experimenting with various no-sew methods, you’ll be well on your way to crafting an impressive doll wardrobe that’s sure to impress.
Remember, practice makes perfect! As you gain confidence in your no-sew abilities, don’t be afraid to try more complex designs and styles. Let your creativity shine, and enjoy the satisfaction of watching your dolls strut their stuff in one-of-a-kind outfits made by you!